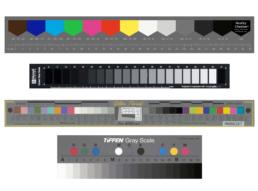
It is important that all artwork be documented with some type of color reference card along the edge of the frame. Munsell, ISA, Tiffen and others make such cards. I make the RealityChecker for the this purpos and IMO, it’s ideal because of it’s constancy across polarized and unpolarized states, the gray patches are dead neutral and are designed expressly for custom tone curve creation in Lightroom. Email me for if interested in the RealityChecker
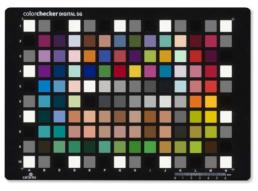
The XRite Colorchecker SG is still the gold standard for creating custom scanner and camera profiles. Onsight clients should own these and be able to scan or shoot the card when needed and email the file to me for profiling.
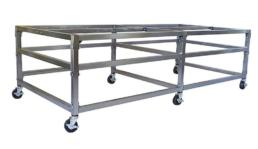
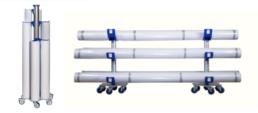
Studio configurations can be either vertical or horizontal. Vertical configurations often have the artwork on the floor with a down facing camera suspended above it, while horizontal configurations have artwork on an easel with the camera on a tripod or rolling stand. I prefer a horizontal configuration for easier movement of both camera and artwork. I had an easel built out of wood and carpet that is simple, strong and affordable. I have also built one out of 80/20 extruded aluminum that is lightweight and portable. Contact me if you are interested in either of these.
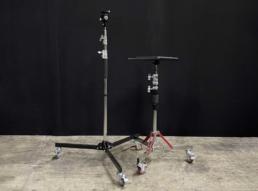
Rolling camera and laptop stands allow for much easier movement to and from the easel. Here’s an excellent camera stand and a smaller laptop stand. I like to switch the base legs between them, so that the studier, longer legs are supporting the camera. You’ll also need a low profile tripod head, an adapter, and a laptop table top. There’s also a larger laptop table if you prefer.
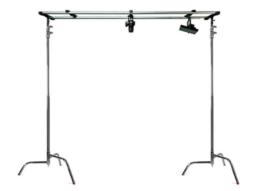
Glide Gear’s Overhead Camera Rig is an affordable way to setup a vertical copy stand with two existing C-Stands. Might be worth replace the dinky 6′ bar that comes with the Overhead Camera rig with a real, solid 10′ pipe like this. I use a vertical setup for loose works on paper and other items that do not rest on an upright easel.
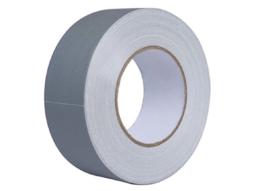
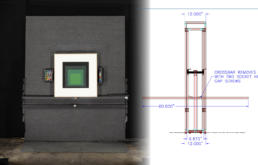
Silver Gaffers Tape is particularly useful as a polarization indicator. I like to place strips of this tape on my easel and include them in the frame. When they are light it means the light is not polarized. When they appear dark that indicates full cross polarization. Here is a side by side comparison that illustrates this effect.
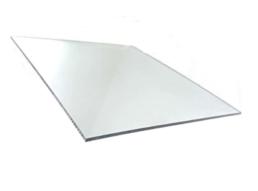
A small mirror can be helpful to check for camera parallelism. This mirror is acrylic, lightweight and inexpensive.
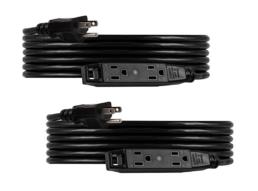
Two extension cords with 3 outlets on each end for plugging in your lights without having cords in the walking traffic area.
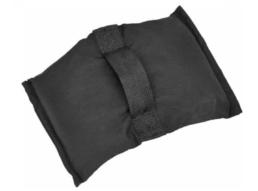
I recommend having 4 sandbags around for flat artwork documentation and 8 for non flat documentation work. These single sandbags are well made while this 4 pack would me more economical.
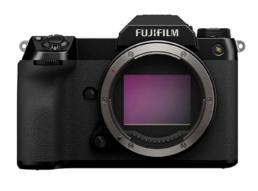
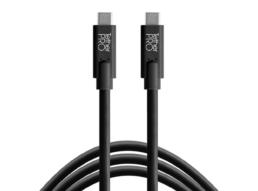
At the moment, Fujifilm’s medium format GFX100s II camera is possibly the most popular camera to have for Art Documentation / Cultural Heritage Photography for all the right reasons. It’s a $5000 camera that shoots 100 megapixel single frames and 400 megapixel pixel shift frames with incredible optics. Fujifilm’s excellent LR Tether App makes for a fantastic tethered experience.
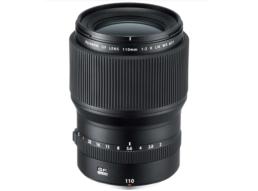
The Fuji GF110mmF2 R LM WR is THE lens for flat artwork documentation. Works great for 100 and 400mp pixel shift work. Read more about it on Fuijifilm’s site.
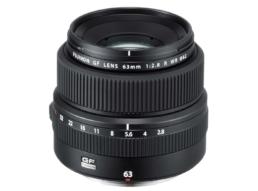
The Fuji GF63mmF2.8 R WR is a great option for non-flat sculptural documentation work. Works great for 100 and 400mp pixel shift work.
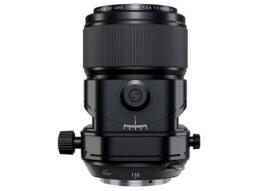
The Fuji GF110mm F5.6 T/S Macro shift tilt lens is an exciting new choice that’s ideal for macro work, focus stacking and for small object photography where shifting the plane of focus is helpful. The shift functionality can also be helpful for high resolution image stiching without the need for perspective adjustment. Manual focus and very solid. Read more about it on Fuijifilm’s site.
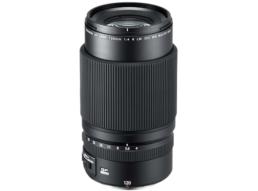
The Fuji GF120mmF4 R LM OIS WR Macro lens is great for 100mp single frame and up close macro work. OIS lenses cannot, however, be used for 400 megapixel pixel shift shooting.
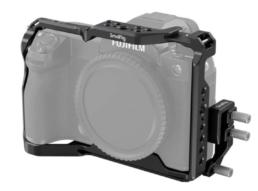
The SmallRig L-Bracket for Fujifilm GFX 100S is not essential, but it’s a nice option to have as it cradles the tether cable nicely.
A properly aligned, four point lighting system is ideal for flat art documentation because it ensures an evenly light area and offers full control over reflections and polarization. Four LINK flash units are ideal for their special “Color Mode” that allows for dead perfect consistent pop to pop color and luminosity. The LINK LED modeling light is also nice and important if we place polarization in front of them. Combine the LINK units with four standard 7″ reflectors, a CyberSync™ Trigger Transmitter 3, two floor stands and two tall light stands. IMO, these LINK units are truly unparalleled, even in comparison to far more expensive rivals.
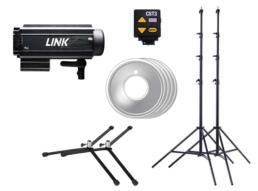
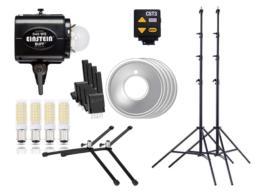
The next best lighting system would be like the above but replacing the LINK units with the more affordable Einstein units. The Einstein’s have the same excellent consistency from pop to pop but at less power and a lower price point. The hot incandescent modeling lights can be replaced with these LED bulbs. The Einstein’s will require four CyberSync™ Transceivers that you can combine with four standard 7″ reflectors, a CyberSync™ Trigger Transmitter 3, two floor stands and two tall light stands.
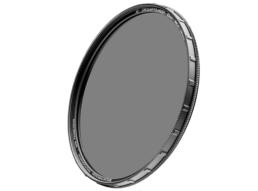
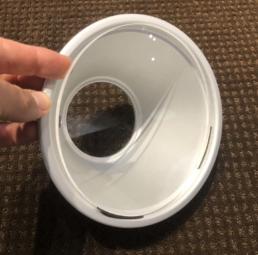
I’m a big proponent of filtering out UV and polarizing your lights and lens. While one can purchase simple polarization film and place them over your reflectors, I like to make acrylic cutouts for reflectors and laminate the polarization film to them. The acrylic filters out UV and the film polarizes the light. Contact me if you’d like me to make you a set for $400.
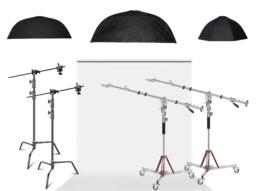
For those doing non-flat artwork documentation you will also need (at a minimum) two boom stands, two C stands, a roll of natural white (not bright white!) paper, and some soft boxes. I recommend one large primary, overhead soft box, two strip boxes and one octabox.
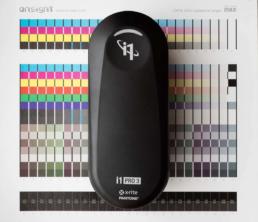
The i1PublishPro3plus package is the modern “Swiss Army Knife” spectrophotometer that calibrates displays, all types of printers, takes spot measurements, etc. It does it all and is a huge improvement over the 12+ year old i1Pro2 device for many reasons. I recommend this “Plus” large aperture device over the regular i1Pro3 small aperture device because it allow for backlit transparency profiling and more importantly, measurement with polarization. Polarization is amazing and I prefer measuring nearly everything with it these days. Check out our reviews of the standard aperture i1Pro3 and the large aperture i1Pro3Plus.
It’s worth noting that the Onsight remote profiling service is a cost effective way to get excellent printer profiles for those that simply need a few printer profiles every now and then. Email to find out more about the remote profiling service (for clients only).
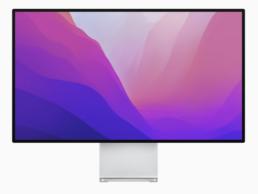
Although they are not the most affordable displays on the market, I have come to really appreciate Apple’s current lineup of displays for their quality, features and elegance. The new 27″ Studio Display with the tilt and height adjustable stand and nano-texture glass is fantastic while the 32″ Pro Display XDR is insanely gorgeous for those with the budget.
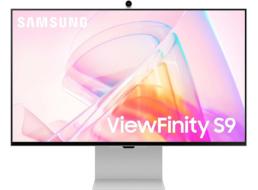
The Samsung ViewFinity S9 5K is a great 27″ 5K display complete with speakers, a good camera, Thunderbolt4 and a cable for the laptop that powers, supplies data and everything one needs through a single cable. It has a 5120 x 2880 resolution and is a great value option. This Apple knockoff display is a great option for those that care about image quality but resist higher costs. Prices can fluctuate from $1000 to $1500.
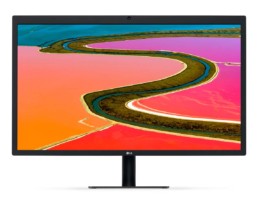
This ~$1100 LG Ultrafine 27″ 5K display is the panel found in 27″ iMac but comes in its own case complete with speakers, a FaceTime camera and a cable for the laptop that powers, supplies data and everything one needs through a single cable. It has a 5120 x 2880 resolution and is a great value option. Prices can fluctuate so be sure to compare this to the very similar Samsung ViewFinity S9 5K.
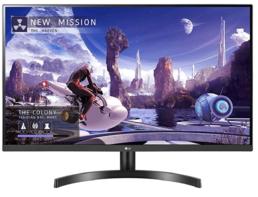
This ~$239 32″ 32QN600-B display really stands out as an excellent, affordable option. Its only 2560×1440 pixel resolution but has a matte surface, dual HDMI input, a wide viewing angle and looks great when calibrated. The LG 32UP83A Monitor is the same size but at higher resolution (3840×2160) (4k) for ~$400. Both are great choices to run on PC’s or the new Apple Silicon Macs.
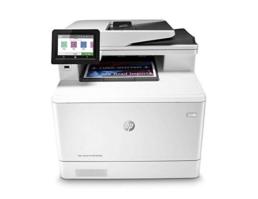
A client recently hired me to evaluate all the letter sized desktop color laser printers on the market from the likes of Canon, HP, Xerox, Brother, Lexmart, OKI, etc. I was quite surprised that a) the print quality was atrocious on almost all of them, b) most don’t support color management with ICC profiles and c) HP’s Color Laserjet Pro’s were the clear and obvious print quality winners. One can make great RGB printer profiles for them using the printer driver with the default settings. While there are many to choose from, we found the letter sized HP Laserjet Pro 477fdw and the tabloid sized LaserJet Pro CP5225dn to be excellent choices.
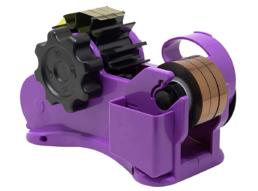
This inexpensive heat tape dispenser pre cuts perfect sized strips for dyesub work. Holds several rolls of tape simultaneously including a side holder that allows you to cut custom length strips. I can’t tell you how giddy I am about this.
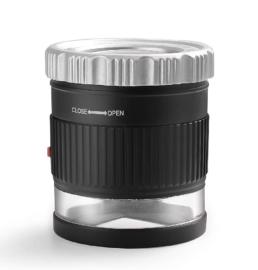
These affordable 10x and 30x self illuminating loupes are excellent for examining nozzle checks, manual head alignment printouts, and other fine details. The UV blacklights make viewing Yellow nozzle and lines as easy as viewing black ink lines in regular light. A must have for any digital printmaker.
Silicone rollers are the best way to clean panels prior to sublimation. Silicone rollers should be used with sticky matts (option2) for cleaning between applications. Rollers can also be used to clean acrylic and some artworks directly. Another alternative is the GMP silicone roller, sticky matt and tray combination (choose “12 Inch Roller, 50 Clean-Up Sheets (PCR12)”).
Protect your upper heat press platen with Endura Fabric. Wrap the fabric up around the sides and secure them with large or smaller rare earth magnets.
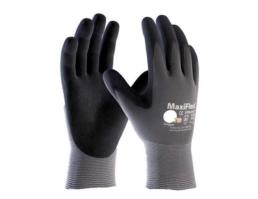
Maxiflex 34-874 Ultimate Nitrile Grip gloves are a favorite in the dyesub community for their incredibly comfortable fit. They only offer minor heat protection however, so quick handling of hot products is required. Consider the Ansell gloves for extended handling of hot dyesub products.
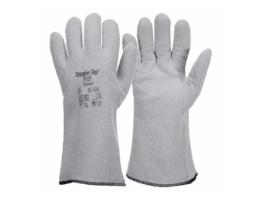
Most heat resistant gloves are bulky, heavy and not fun to wear. Ansell Crusader Flex Heat Resistant gloves are the most comfortable, lightest weight oven mitt gloves I’ve seen, and they’re nice to handle hot dyesub products with. These are also popular in metal fabrication shops and in commercial kitchens as oven mitts.
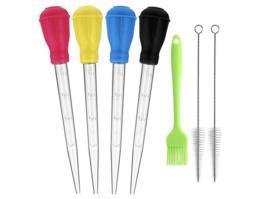
In my opinion, Epson made a mistake not including the stirring mechanism in all ink tanks. Dyesub color inks settle and this settling is common cause of print quality inconsistency. I recommend using these conveniently color coded CMYK turkey basters to mix up all four inks on a weekly basis. Stirring the inks once weekly is an affordable prevention method that will ensure print quality consistency over time. Another way to avoid this is to only fill the tanks for one week’s usage at a time.
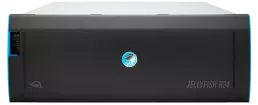
SAN and Jellyfish Drives have come to dominate storage for video professionals and enterprise use. I quite like the often overlooked XSAN technology or large groups of MacOS users as it’s truly great stuff. We have gotten to the point where RAID drives rarely make sense for groups smaller than these so I’m no longer recommending them. Non-Video creative groups should consider the newer cloud based solutions listed below.
Groups of creative professionals, particularly design oriented groups, that are often working remotely should consider LucidLink. LucidLink is a remarkably fast, cloud sync option that’s kind-of like Dropbox but far better. LucidLink acts like a 2nd internal hard drive that mounted to your desktop (MacOS) or assigned a Drive number (Windows). It uses your local SSD for caching frequently used files and keeps the rest in the cloud and downloads them when needed. Like a NAS drive it’s shared with everyone in your group so everyone sees the same set of files. But only one user can use a file at a time which avoids problems. If someone is working on an InDesign file another user will not be able to use that file until it’s closed. It’s typically as fast as an internal SSD with occasional latency when a file is needed to be retrieved from the cloud. It’s alarmingly fast even for this because it syncs at the block level as opposed to the far more common file level syncing. So if you only modify 100k of a 3GB file, it only needs to sync that ~100k worth of modified blocks. IMO, LucidLink is a new option that a lot of groups (especially designers) really need to consider switching to.
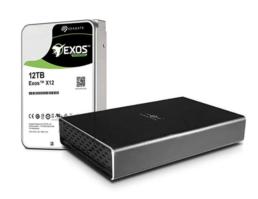
For storage up to 22TB, the $40 Vantec NexStar Gx Enclosure is excellent because it has an aluminum case, USB-C ports and supports USB 3.1 gen2 data speeds (as opposed to the more common and slower USB 3.0). Seagate EXOS hard drives are great for single drive enclosures like this because they are affordable, fast and have low failure rates. With todays 22+TB drives, many don’t don’t need the complexity and expense of a RAID anymore. Don’t forget to purchase a second drive to backup the first.
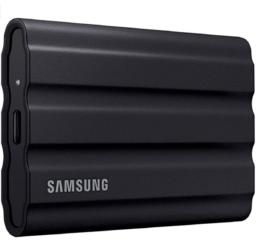
Consider adding a $159 2TB or $262 4TB SSD for a fast, local backup of your primary workstation. Local backup of your main working drive is the most important backup you can have.
Cloud backups have their place protecting us from fire or localized catastrophic damage. I recommend Backblaze because it’s affordable and is a native app that syncs in the background quickly and continuously without sacrificing performance. Set it up once and forget about it for $7/month. I think it’s important to consider a cloud backup as secondary to a local backup.
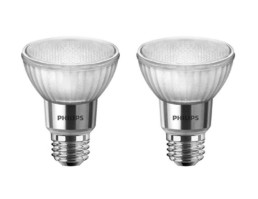
For those that are wanting modern, energy efficient bulbs for print exhibition, Philips Par20 Classic Glass Flood LED Bulbs and Philips Par 30 ExpertColor LED Bulbs stand out as an excellent options for screw-in E26 fixtures. Like incandescent flood lights, they have a narrow focus that puts a nice warm hot spot on your print on the wall. There are other sizes and versions of these bulbs – I recommend using the 3000K versions for residential and 4000K versions for commercial environments.
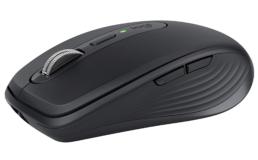
The $79 MX Anywhere 3 is IMO the best all around mouse out there. It feels really great, nice weight, not too small nor too big, has precise movement, a precise and dynamic scroll wheel and recharges via USB-C. And then there’s the $140 Logitech G PRO X Gaming Mouse for over-the-top precision needing nerd. Right and left handed versions available. Both of them connect via Bluetooth, or if you prefer to go old school, the USB dongle is also included. I have one of each. So simple and nice. I don’t know why Apple can’t get this right.
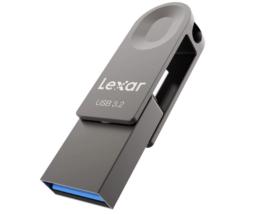
I keep handful of inexpensive USB flash drives so I can transfer files with other computers or simply give files to clients. Lexar makes this attractive, fast, $12 64GB flash drive with both USB-A and USB-C ports.
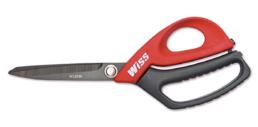
Every print room needs a *really* good pair of scissors like the Wiss Titanium Coated Heavy Duty Pro Shear, or the larger 11″ Titanium Coated Single Ring Shears.
This affordable 30x self illuminating loupe is excellent for examining nozzle checks, manual head alignment printouts, and other fine details. The UV blacklights make viewing Yellow nozzle and lines as easy as viewing black ink lines in regular light. A must have for any digital printmaker.
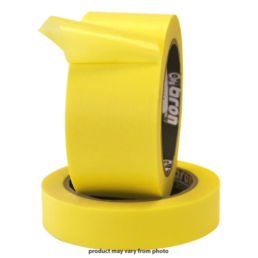
Surprisingly better than Blue Tape or Green Frog Tape, Killer Bee Tape has just the right amount of stickiness and leaves no residue at all. It’s the only tape I’ll apply directly to prints (including fragile matte surface prints) and know that it can be removed without problem. Only available in bulk from the manufacturer. Surprisingly nice to have in the print room for a variety of reasons.
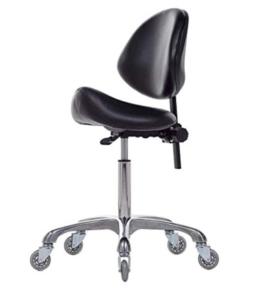
This is a saddle stool studio chair that places your legs to the sides instead of in front. It promotes good posture and doesn’t contribute to back or leg pain on long days. I can’t tell you how many (much more expensive) chairs I’ve gone through before finding this one for my own studio.
OK, so maybe saddle stools aren’t for everyone – a regular salon stool is also great.

